
A custom domain is often the first step toward giving your online store a polished, professional look. If you already own a domain through GoDaddy, linking it to your Shopify store is straightforward—and you don’t have to leave either platform to make it happen. Follow the short process below and you’ll have your new URL pointing to your Shopify storefront in just a few clicks.
Getting Started inside Shopify
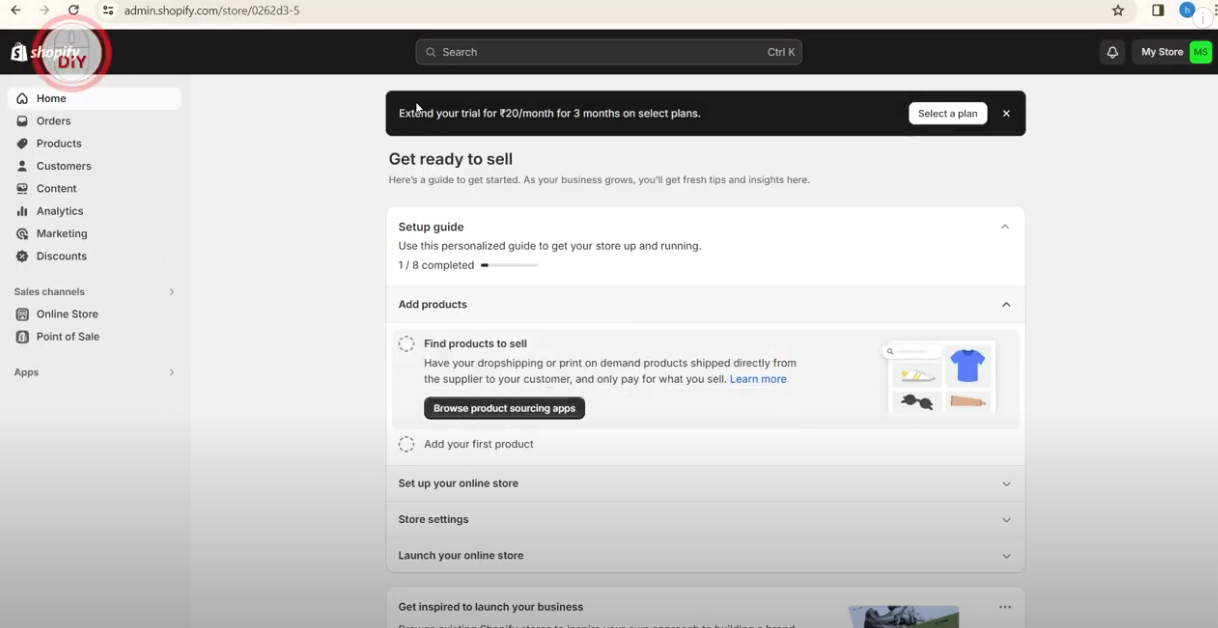
After signing in to Shopify, the first place you need to visit is the admin dashboard. Look toward the bottom-left corner and select Settings. This area houses everything that shapes how your store functions behind the scenes, including payment gateways, taxes, and the domain manager you’ll use today.
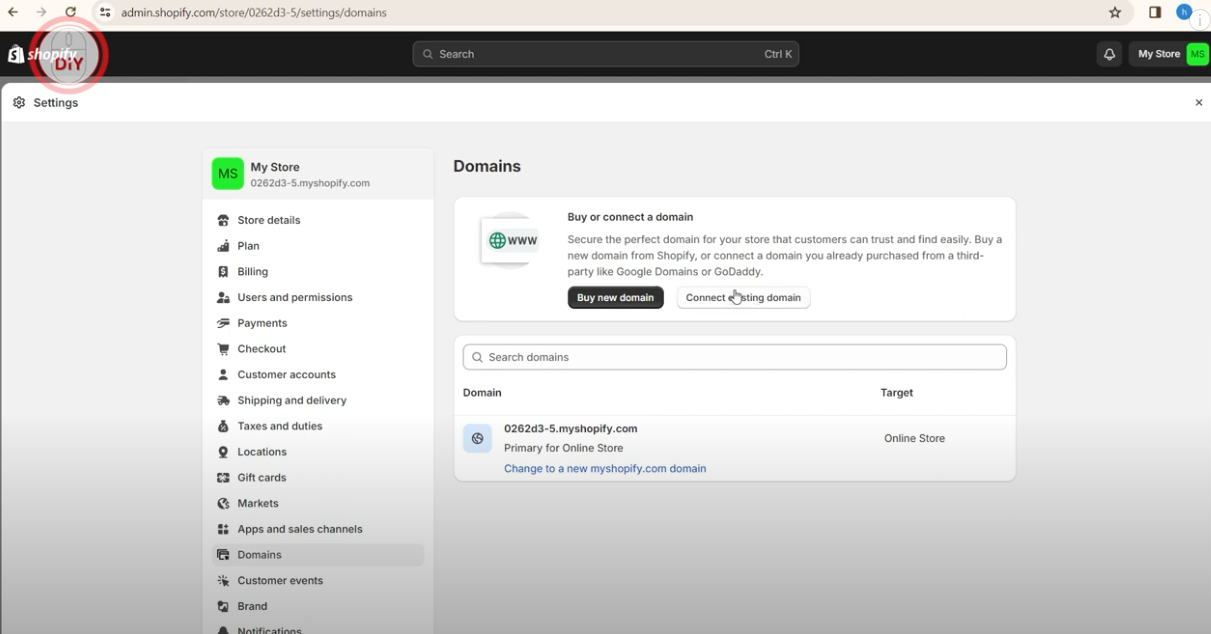
Inside Settings, scroll until you see Domains and click it. Shopify now displays every option available for adding or buying web addresses. Shopify’s own domain service is convenient if you need something brand-new, but in this walkthrough you’ll tap the Connect existing domain link to bring in a URL you already own from GoDaddy.
Authorizing Your GoDaddy Account
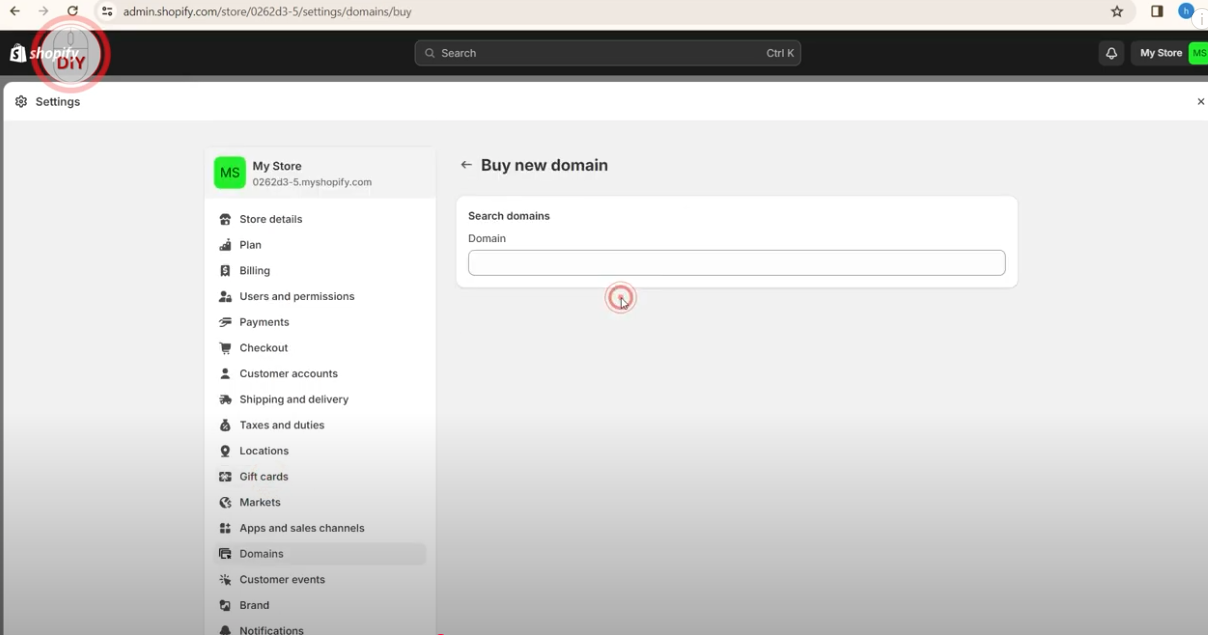
A prompt appears asking for the domain name you want to connect. Type the full address (for example, yourstore.com) and click Next. Shopify immediately detects that the domain is registered through GoDaddy and opens a secure GoDaddy login window. Make sure you are already signed in to GoDaddy in the same browser—or enter your username and password when asked—so Shopify can retrieve the DNS records automatically.
Once GoDaddy verifies your credentials you will see a confirmation screen requesting permission to share the domain’s settings with Shopify. Click Connect or Authorize. After a few seconds Shopify finishes the handshake, updates your DNS records behind the curtain, and flags the new domain as “Connected.”
Back on the Shopify Domains page, your GoDaddy address now appears in the list. A green “Connected” badge indicates everything is working. If you want to make this domain the public face of your store, select Set as primary so customers see your custom URL instead of the default myshopify.com link.
DNS propagation can take a few minutes, but most users notice the change almost immediately. To be sure, open a fresh browser tab and type your new domain. If your store loads, the process is complete. If it hasn’t switched over yet, give it a short while, Shopify keeps an indicator on the Domains page so you know when the status turns to “Active.”
Wrapping Up
That’s all there is to it. With just a visit to Shopify’s settings and a quick authorization inside GoDaddy, your domain is now firmly attached to your Shopify storefront. From here you can focus on customizing your theme, organizing products, and—most importantly—making sales under a branded address your audience will remember.
If this guide helped, consider sharing it with fellow store owners who may be struggling with their own domain setup. And if you have ideas for future tutorials, leave a comment below—we’re always listening. Happy selling!


