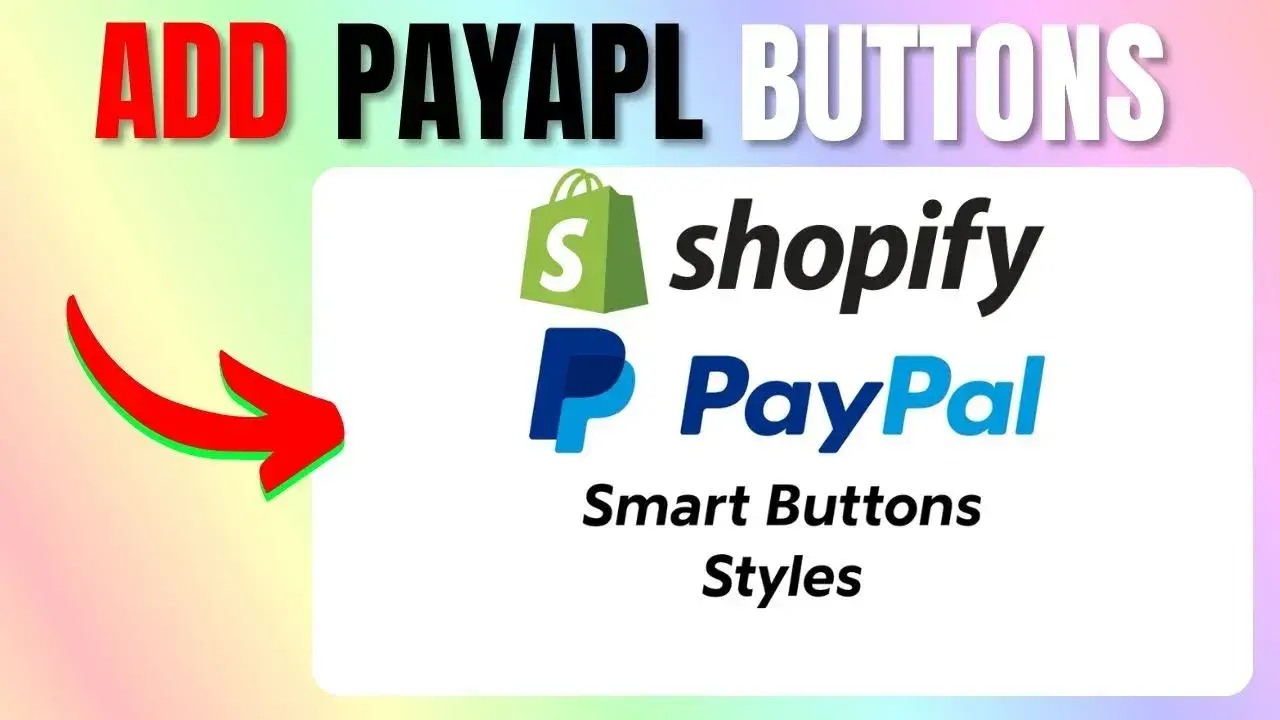
PayPal Smart Buttons let customers check out quickly with the payment method they already trust, while sending the full order details (including product variants) straight to your PayPal dashboard. In this guide I’ll show you exactly how I set them up in my own Shopify test store so you can do the same. Everything is done inside your theme code and takes just a few minutes once you know where to click.
Why test first?
To be certain every variant came across correctly, I uploaded two sample products—one of them with three different variants. This way I could see whether PayPal passed the right item name, option (size, color, or any attribute), and price each time a shopper checked out. With that confirmed, I could move on knowing customers would never be charged the wrong amount and I would always know what they bought.
Step 1: Create a new snippet for the PayPal buttons
Open Shopify Admin and jump to Online Store → Themes → … → Edit code.
Inside the snippets folder choose Add a new snippet and name it exactly paypal-buttons-product. Consistent naming helps avoid mix-ups later.
Copy the PayPal Smart Buttons script (you’ll find the exact code at the end of this post) and paste it into the new snippet. Save your work.
Step 2: Call the snippet on your cart page
Still in the code editor, open the
main-cart-footer.liquidfile. Scroll down to around line 108—just above the default “Checkout” button—and insert this single line:{% render 'paypal-buttons-product' %}
Hit Save. That one line pulls in the entire Smart Button block you created a moment ago.
Step 3: Remove the duplicate “Buy Now” button on product pages
The Smart Buttons will eventually replace Shopify’s one-click “Buy Now” button, so it’s best to remove the duplicate to keep your layout tidy. Go back to Online Store → Customize, switch to a product page, open the left-side sidebar, select the “Buy Button” block, and delete it. Leave the regular “Add to Cart” button—Smart Buttons appear only in the cart, so customers still need to add items first.
Step 4: Add a custom cart template (if you’re using Shopify’s newest themes)
If your theme supports templates, select the cart page, create a new template called cart.paypal (or any name you like), paste your PayPal code block in the designated area, and save. This ensures only the cart page shows the Smart Buttons and nothing else is affected.
Refresh the cart page in a new tab. You should now see PayPal Smart Buttons rendered directly beneath the order total.
Step 5: Test every variant with PayPal Sandbox
Before you go live, switch the script to Sandbox mode. Replace the placeholder client-id in the PayPal script with your real Sandbox Client ID (you get this from developer.paypal.com). Add each product variant to the cart and confirm the PayPal button displays the correct total. Complete a test transaction with Sandbox credentials.
On the PayPal confirmation screen you should see:
- Product name
- Variant selected
- Quantity
- Total amount paid
If every field matches what you saw in Shopify, you’re ready for the real thing.
Step 6: Switch to your live PayPal Client ID
Once testing looks perfect, go back to the snippet and replace the Sandbox Client ID with your Live Client ID. Save the snippet. From this moment forward, any sale processed through the Smart Buttons sends money straight to your PayPal balance—as well as the full product and variant data, visible under Activity in your PayPal dashboard.
Fulfilling orders after payment
When a customer checks out, Shopify generates the standard “Thank you” page displaying order details and shipping address. You can fulfill directly in Shopify as usual. If you prefer, you can manually create or edit the order using the email and address PayPal shares, then add tracking information so the customer gets automatic updates.
Final thoughts
PayPal Smart Buttons can feel intimidating if you have never edited theme code before, but the entire process boils down to three short edits:
- Create the snippet.
- Render it in your cart.
- Swap in your own Client ID.
By testing with Sandbox first, you guarantee customers are charged the right price and you always receive a crystal-clear record of each purchase—down to the specific variant. Set it up once, verify every detail, and you’ll never worry about mismatched orders again.
If this tutorial helped, feel free to bookmark it for later, share it with fellow store owners, and subscribe to my YouTube channel for more Shopify tips and tricks. See you in the next guide!
<!-- PayPal Smart Buttons -->
<script src="https://www.paypal.com/sdk/js?client-id=YOUR_CLIENT_ID¤cy=USD"></script>
<div id="paypal-button-container"></div>
<script>
document.addEventListener('DOMContentLoaded', function () {
var amount = {{ cart.total_price | money_without_currency }};
paypal.Buttons({
createOrder: function (data, actions) {
return actions.order.create({
purchase_units: [{
amount: {
value: amount
},
items: [
{% for item in cart.items %}
{
name: "{{ item.product.title }}",
description: "{{ item.variant.title }}",
quantity: "{{ item.quantity }}",
unit_amount: {
value: "{{ item.final_line_price | money_without_currency }}",
currency_code: "USD"
}
}{% unless forloop.last %},{% endunless %}
{% endfor %}
]
}]
});
},
onApprove: function (data, actions) {
return actions.order.capture().then(function (details) {
window.location.href = '/checkout?paypal=1&orderID=' + data.orderID;
});
}
}).render('#paypal-button-container');
});
</script>


